Start your morning right with a pillowy and bright peach scone drizzled in a sweet glaze. Not a morning person? No problem! These scones make for a fantastic afternoon snack or post-dinner dessert. Make them mini to serve at an event, or make them big so you don’t have to share – these won’t last long either way.

There’s nothing quite like juicy peaches when they are in season! These peach scones are a great way to enjoy them.

Scones are actually quite easy to make. The dough is easy to manage and does not require kneading or resting time.
After all the ingredients are mixed together, you just make the dough in thick flat circle, kind of like a fat pizza. Then you’ll cut them into 8 individual scone servings.

After they are baked, a quick-made glaze can be added on for extra sweetness!

Perfect for brunch or any time you want a fruity treat.

Other peach recipes you might love: spicy peachy baked brie, peach caprese salad, cherry peach crumb bars, and honey baked peaches.

Peach Scones

Start your morning right with a pillowy & bright peach scone drizzled in a sweet glaze. Not a morning person? No problem! These scones make for a fantastic afternoon snack or post-dinner dessert. Make them mini to serve at an event, or make them big so you don't have to share - these won't last long either way.
Ingredients
For the scones:
- 3-4 ripe peaches, peeled and diced
- ¼ cup granulated white sugar
- 3 cups all-purpose flour, divided (plus more if needed)
- 1 tablespoon baking powder
- ½ teaspoon baking soda
- ½ teaspoon salt
- 1 cup plus 1 tablespoon heavy cream, divided
- Juice of ½ lemon (about a tablespoon)
- 4 tablespoons butter (½ stick)
For the glaze:
- ½ cup powdered sugar, sifted
- 2 teaspoons heavy cream
Instructions
- Preheat your oven to 400°F. Line a baking sheet with parchment paper and set aside.
- In a medium-sized bowl, toss together the diced peaches and the granulated sugar.
- In a separate, large mixing bowl whisk together 2.5 cups of the flour, the 1 tablespoon baking powder, 1/2 teaspoon baking soda, and 1/2 teaspoon salt.
- Add the lemon juice to 1 cup of the heavy cream and gently stir to make buttermilk.
- Add the buttermilk to the dry mixture and stir to make a chunky batter.
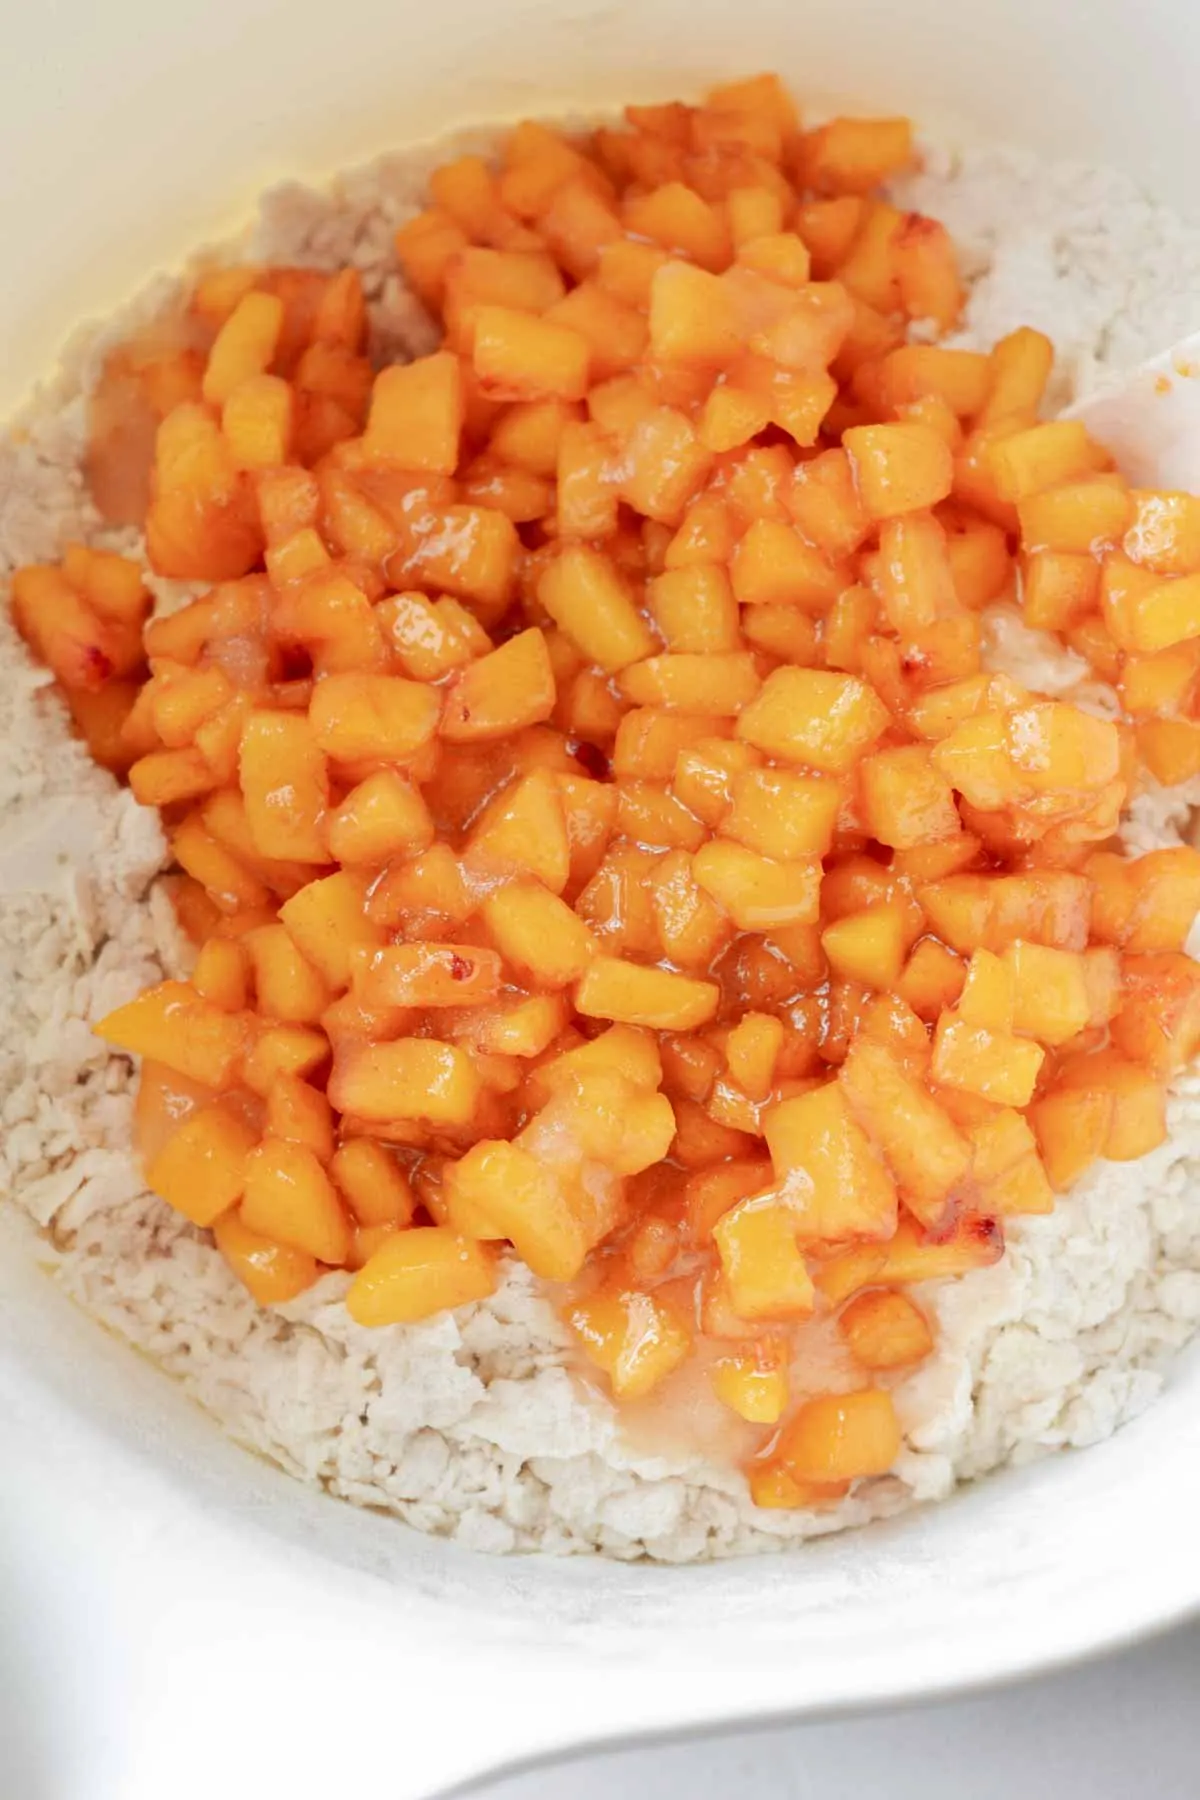
- Fold in the sugared peaches.
- Cut the butter into the mixture and mix with your hands to combine.
- Use your hands to mix in the remaining ½ cup of flour to create a dense dough.
- Remove the dough from the bowl and shape into a disk on a floured surface. Add in additional flour in increments of ½-1 tablespoon or so if needed until the dough disk is smooth on the outside. You should be able to handle it without getting the dough stuck to your hands.
- Cut the disk into 8 triangles, just like you would cut a pie.
- Place each dough triangle onto your prepared baking sheet at least two inches apart.
- Brush the tops of the triangles with 1 tablespoon of heavy cream.
- Bake at 400°F for 18-20 minutes, or until the tops are lightly golden browned and crisp, and the insides are fluffy.
- Remove the scones to a cooling rack and allow to cool to the touch.
While the scones are cooling, make the glaze by whisking together the powdered sugar and cream until smooth. - Use a spoon to drizzle the glaze over the scones and allow to set for 5-10 minutes to harden.
Notes
- If your peach skins do not peel easily, you can simply cut the peaches into wedges and use a paring knife to separate the flesh from the skins. Alternatively, you can blanch your peaches in boiling water on the stove for about a minute. Remove the peaches from the water and allow them to cool to the touch. The skins should slip right off, and then you can slice them and remove the pits.
- I do not recommend leaving the skins on the peaches, as the skins will compromise the texture of the scones and may become bitter while baking.
- I used yellow peaches for these scones. You can use white peaches or any other variety that you prefer. Keep in mind that the intensity of flavor may vary depending on the variety, seasonality, and ripeness of the peaches used.
- Store leftovers in an airtight container at room temperature for 48 hours. You can get an extra day or two out of them if stored in the fridge, but they are best eaten within 2 days for optimal taste.
- You can make these scones ahead of time and freeze the dough for up to 2 weeks. For best results, freeze them individually wrapped in plastic wrap or cut the disk first, then wrap the entire disk in plastic wrap. When you’re ready to bake them, remove however many scones you want from the freezer and place them on a parchment-lined baking sheet. Preheat your oven to 400 F as directed in the original recipe, but increase the baking time to 25 minutes to allow the previously-frozen dough to bake throughout.
Recommended Products
As an Amazon Associate and member of other affiliate programs, I earn from qualifying purchases.
-
 Stainless Steel Biscuit Cutter Set, Pastry Scraper and Dough Blender, Sturdy & Long-Lasting with Ergonomic Rubber Grip, Professional Baking Dough Tools, Gift Package (3 Pcs/Set)
 -
 Winco 8-Cut Stainless Steel Pie/Scone Cutters Medium
 -
 RWM Basting Brush - Grilling BBQ Baking, Pastry and Oil Stainless Steel Brushes with Back up Silicone Brush Heads
Nutrition Information:
Yield:
8Serving Size:
1 sconeAmount Per Serving: Calories: 336Total Fat: 8gSaturated Fat: 4gTrans Fat: 0gUnsaturated Fat: 2gCholesterol: 19mgSodium: 459mgCarbohydrates: 62gFiber: 3gSugar: 24gProtein: 6g
Nutrition information is calculated automatically by an online tool at Nutritionix. It is not always accurate. Please use your own tools to check if you rely on this information.


